Introduction
Is your current mouse causing frustration during your Chromebook use? A new mouse can greatly enhance your productivity and user experience if the old one is malfunctioning. This guide provides step-by-step instructions to help you change your mouse efficiently, ensuring compatibility and customization for optimal use.
Understanding Mouse Compatibility with Chromebooks
Before embarking on replacing your mouse, it’s essential to comprehend the types that work best with Chromebooks. Operating on ChromeOS, Chromebooks support a variety of USB and Bluetooth mice. Knowing which models provide seamless functionality can simplify your choice.
- USB Mice: These provide a straightforward setup with plug-and-play functionality and are compatible with most Chromebooks thanks to USB-A ports. However, do verify for USB-C compatibility if your Chromebook requires it.
- Bluetooth Mice: Ideal for those seeking a cable-free desk, these mice require Bluetooth capability on your Chromebook for optimal performance.
With this understanding, you’ll be well-prepared to select the right mouse. Let’s move on to preparing for the changeover, ensuring the process is smooth and efficient.
Preparing to Change Your Mouse
Proper preparation helps ensure a seamless transition to your new mouse.
- Review Current Mouse Settings: Begin by accessing your Chromebook’s settings to understand the current configuration, which may aid in setting up your new mouse.
- Gather Tools and Accessories: Ensure you have the new mouse and any needed adapters, such as a USB-C adapter, ready.
- Backup Existing Preferences: Take note or screenshots of your current settings to replicate them on your new device.
Armed with these preparations, you’re now ready to dive into the detailed guide for changing your mouse.
Step-by-Step Guide to Changing Your Mouse on Chromebook
Transitioning to a new mouse involves a straightforward process:
- Disconnect Your Current Mouse:
-
For wired devices, unplug from the USB port. For wireless, disable the connection through Chromebook’s settings.
-
Connect Your New Wired Mouse:
-
Plug the new mouse into an available USB port. ChromeOS should automatically recognize and configure it.
-
Pair a New Wireless Mouse:
- Make sure your Bluetooth is enabled.
- Turn on your new mouse and set it to pairing mode.
- Head to Settings > Bluetooth, and select your mouse from the device list.
These steps ensure your new mouse is functioning. Now, let’s customize its settings to enhance functionality.
Customizing Mouse Settings on Chromebook
Adjusting your mouse settings can significantly improve performance and comfort.
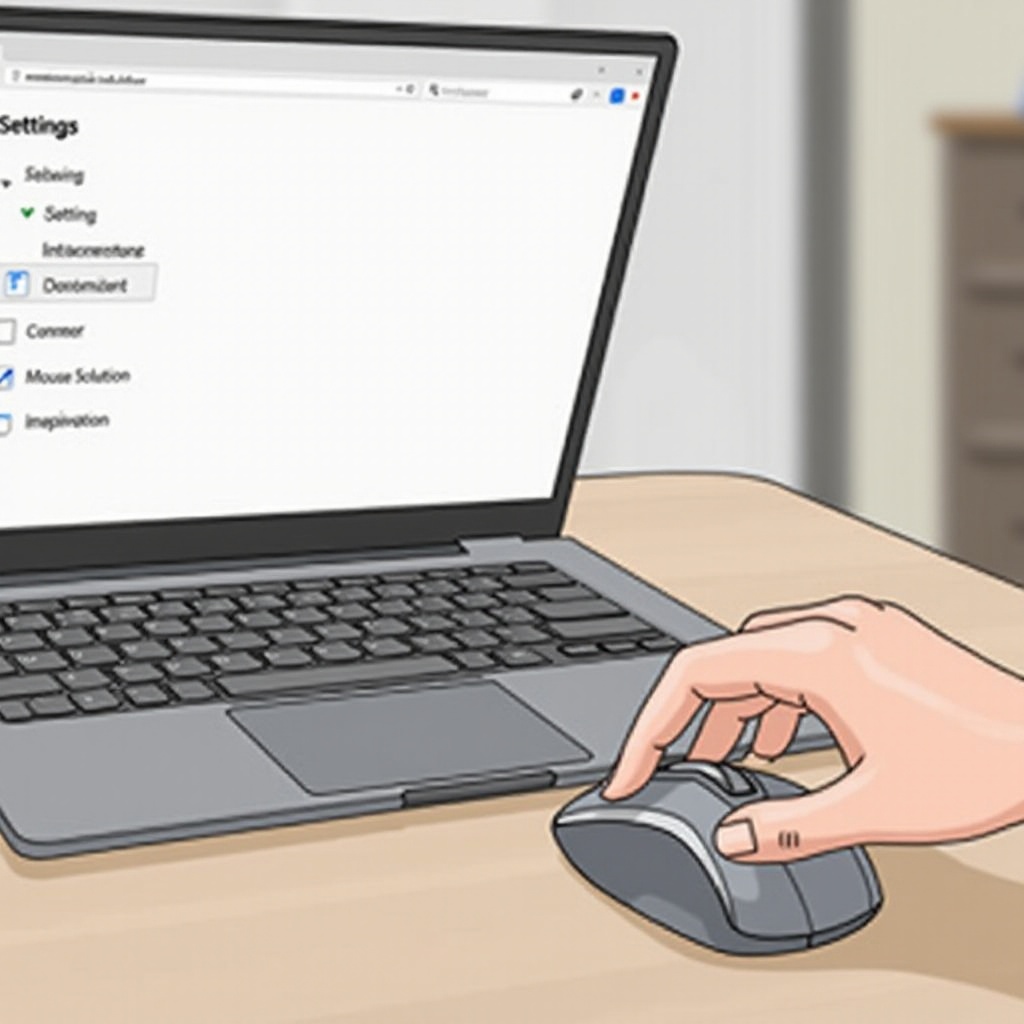
- Accessing Mouse Settings:
-
Go to the ‘Device’ section in your Chromebook’s settings.
-
Adjust Sensitivity and Scrolling Options:
- Fine-tune parameters such as pointer speed, acceleration, and scroll direction to match your preferences.
Proper customization aligns your mouse’s performance with your specific needs. If problems arise, addressing them promptly is essential.
Troubleshooting Common Mouse Issues
Occasionally, challenges like non-recognition or poor connectivity can occur. Here’s how to troubleshoot:
- Mouse Not Recognized:
-
Restart the Chromebook, try connecting the mouse again, or use different ports to rule out a faulty one.
-
Wireless Mouse Connectivity Problems:
- Confirm Bluetooth is active and no interference exists from other devices. Repeat the pairing process if difficulties persist.
By resolving connectivity issues, your user experience will remain uninterrupted. In the next section, let’s explore advanced tips that optimize your mouse usage.
Advanced Tips for Optimizing Your Mouse Experience
To fully utilize your mouse, consider these advanced tips:
- Enable Advanced Gestures:
-
Activate swipe and multi-finger gestures in the settings for an efficient computing experience.
-
Configure Productivity Shortcuts:
- Assign shortcuts to mouse buttons to streamline regular tasks and boost productivity.
Implementing these tips can transform your mouse into a versatile tool for navigating ChromeOS. Finally, let’s summarize the process.

Conclusion
Successfully changing your mouse on a Chromebook involves understanding compatibility, preparing adequately, and following a clear installation guide. Personalizing settings and troubleshooting common issues ensure a smooth experience, while advanced tips enhance functionality. With your new mouse, enjoy improved performance and comfort tailored to your needs.
Frequently Asked Questions
How do I reset my mouse settings on Chromebook?
To reset, navigate to Settings > Device > Mouse and Touchpad. From there, you can restore the settings to default.
Can I use any Bluetooth mouse with a Chromebook?
Most Bluetooth mice are compatible, but checking ChromeOS compatibility ensures the best performance.
What should I do if my new mouse lags on my Chromebook?
Firstly, check for any interference from other wireless devices. Adjust mouse sensitivity settings if necessary and ensure there are no resource-heavy programs running in the background.