Introduction
Testing your computer’s Power Supply Unit (PSU) is a crucial step in maintaining not only the performance but also the longevity of your computer’s hardware. The PSU is the backbone of your system’s power distribution, ensuring that every component receives the power it needs. A malfunctioning PSU can lead to severe performance problems or even permanent hardware damage. As power requirements can fluctuate and hardware can degrade, regular PSU checks help catch potential issues early. This comprehensive guide will equip you with the necessary knowledge to conduct thorough testing of your PSU safely and effectively, interpret your findings, and troubleshoot common problems—all of which support the reliability of your computer system. Let’s explore the important process of PSU testing and ensure your system remains smooth and resilient over time.

Understanding the Basics of Computer PSU
A Power Supply Unit (PSU) serves as a critical component of your computer by converting alternating current (AC) from your wall outlet to direct current (DC), which your computer’s components require to operate correctly. Situated typically at the top or bottom of the PC case, the PSU takes on the essential role of regulating this power, thus preventing fluctuations which could otherwise harm your system’s hardware.
Different types of PSUs exist, each differing in size, power output, and efficiency, including ATX and SFX. These units also come with various efficiency certifications ranging from 80 PLUS Bronze to Titanium, with higher certifications indicating better energy efficiency. This basic understanding of PSU types and efficiency ratings will help guide our approach in testing and diagnosing. As we progress, knowing these elements will support using the right tools and methods to test your PSU.
Tools Required for Testing a PSU
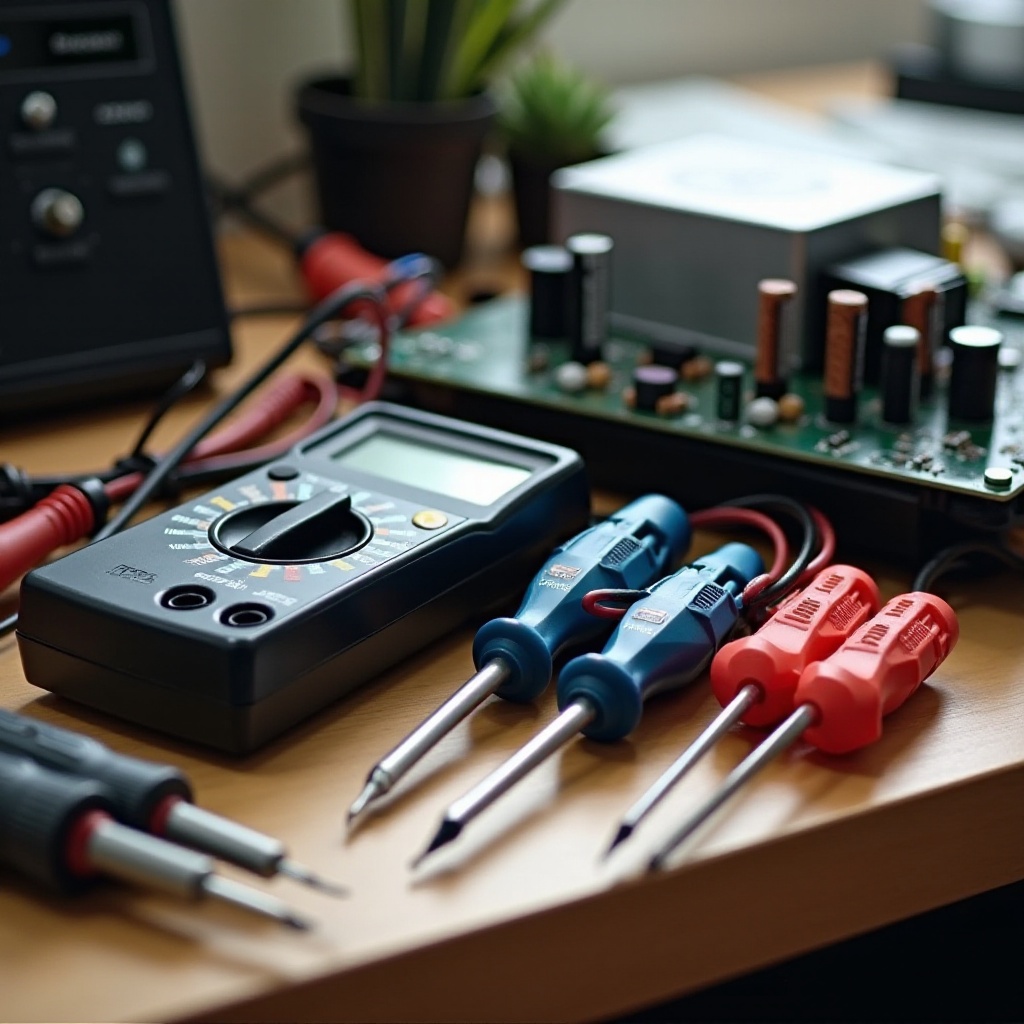
To test a PSU effectively and safely, certain tools are indispensable. These tools ensure that the process is both accurate and safe:
- Multimeter: This device measures electrical voltage, current, and resistance, providing the most precise readings for PSU testing.
- Paperclip or PSU tester: A paperclip can suffice for basic tests, but a specialized PSU tester offers more detailed insights with minimal technical expertise required.
- Insulated Gloves: Wearing these protects against potential electrical shocks during the testing phases.
Having these tools at hand is essential for a safe and effective PSU testing process. The right equipment not only improves diagnostic accuracy but also enhances user safety.
Safety Precautions Before Testing
Handling a PSU involves direct interaction with electrical components, which necessitates observing stringent safety protocols:
- Unplug the Power Supply: Ensure the PSU is completely disconnected from the power source before any testing or handling.
- Discharge Capacitors: Capacitors can hold a charge even after powering down, so ensure they are fully discharged.
- Use Insulated Tools: To further prevent electric shock, always work with insulated tools.
By adhering to these precautions, you maintain a safer testing environment while ensuring the best conditions for accurate results.
Step-by-Step Guide to Testing a PSU
Achieving thorough and accurate testing of your PSU involves a systematic approach:
Preparing Your Work Area
- Clear a Space: Set up a well-organized and well-lit area to reduce the chances of errors or accidents.
- Gather Tools: Have your multimeter, paperclip, or PSU tester and gloves within reach.
Using a Multimeter for Basic Tests
- Set the Multimeter: Ensure it is switched to the voltage measuring setting.
- Connect the Probes: Insert the black probe into the ground pin and the red probe into the pin that corresponds to the voltage you seek.
- Measure the Outputs: Compare these readings to the expected values to identify any discrepancies.
Conducting a Paperclip Test
- Prepare the Paperclip: Shape it into a U and use it to bridge the green and any black pin in the connector.
- Power On: Reconnect the power to test the PSU’s response, especially if the fan engages.
Following these methods meticulously allows thorough assessment of your PSU’s viability.
Interpreting the Results
After testing, you should compare the multimeter’s voltage readings to the PSU’s specified outputs provided by the manufacturer. Each rail (+12V, +5V, +3.3V) should ideally be within a 5% variance. Deviations could suggest a deteriorating or malfunctioning PSU. Grasping the significance of these readings is crucial for accurate diagnosis. Seek professional help or consider replacement if discrepancies are beyond tolerance.

Common PSU Issues and Fixes
Here are frequent PSU issues and their potential fixes:
- Overheating: Maintain airflow and keep PSU vents clear from dust.
- Unexpected Shutdowns: May hint at a failing PSU or inadequate wattage; reassess component power needs.
- Unusual Noises: Often due to failing fans; carefully inspect and clean inside the PSU.
Swiftly addressing these concerns helps maintain computers’ integrity and functionality.
Conclusion
Regular PSU testing is an invaluable practice that significantly enhances your computer’s reliability and lifespan. By verifying normal PSU operation, you prevent potential complications, ensuring sustained performance. Armed with the methods and understanding provided in this guide, you’re well equipped to manage your PSU’s function proactively. Timely testing, precise result interpretation, and quick issue resolution maintain your system’s optimal performance over its operational life.
Frequently Asked Questions
How often should I test my PSU?
Testing your PSU every six months can help preemptively catch potential issues or anytime you experience instability.
What signs indicate a failing PSU?
Frequent crashes, unexplained reboots, burning smells, or unusual noises are typical signs of a failing PSU.
Can a faulty PSU damage my computer?
Indeed, a malfunctioning PSU can damage key components like the motherboard or graphics card, highlighting the importance of regular testing.