Harnessing solar energy at home starts with a properly installed solar outlet. This guide will walk you through the process, ensuring a safe and effective setup. Installing a solar outlet involves understanding how solar systems work, gathering necessary tools, and following detailed steps. Whether you’re a DIY enthusiast or a homeowner keen on sustainable energy, mastering solar outlet installation is achievable. Prepare to save on energy costs and reduce your carbon footprint. By following the instructions provided here, complete the installation with confidence and accuracy. Maximize the benefits of solar energy by equipping your home with a reliable power source. Dive into the detailed steps, learn the essentials, and get ready to power your home with clean, renewable energy.
Preparing for Solar Outlet Installation
Understanding Solar Outlets and How They Work
Solar outlets are the access points for utilizing energy generated from solar panels. These outlets convert solar energy into usable electrical power for your devices. Comprehending their functionality is vital for a successful setup. The solar panels absorb sunlight and convert it into direct current (DC), which then flows into an inverter. The inverter plays a crucial role by transforming DC into alternating current (AC), which powers home appliances. When considering a solar outlet system, ensure compatibility between solar panels and inverters to optimize energy conversion. Recognize the significance of a properly installed and grounded solar outlet to prevent electrical mishaps. With this understanding, harness solar energy effectively and safely in your household.
Tools, Materials, and Safety Checks You Must Do First
Prepare a toolkit comprising essential items like screwdrivers, a drill, wires, connectors, and safety gear. Accurate tools make the process efficient and prevent errors. Safety checks are non-negotiable; ensure all equipment is in pristine condition. Begin by wearing protective gloves and goggles to safeguard against potential hazards. Inspect all wires and connectors for wear or damage. Verify that your panel and inverter setup is complete and compatible. Prioritize a clear, dry workspace free from obstructions. Double-check local electrical codes for compliance to avoid legal issues. Familiarize yourself with electrical systems if this is your first installation. Proper preparation saves time, minimizes risks, and ensures a successful installation.
Step-by-Step Solar Outlet Installation Process
Mounting Panels and Positioning the Outlet Correctly
Start by selecting a sunny spot for your solar panels. Use a sturdy mounting frame to attach panels securely to your roof or a dedicated stand. Ensure panels are angled correctly to capture maximum sunlight throughout the day. Once the panels are in place, decide on the best location for the solar outlet. It should be accessible yet protected from harsh weather. Drill holes for the outlet, ensuring alignment with the incoming power cables from the panels. Secure the outlet box firmly, using appropriate screws and fittings. Align cables neatly, and use clips to keep them organized and safe. Follow manufacturer guidelines to ensure connections are correct and secure. This careful positioning ensures optimal energy capture and long-lasting performance.
Wiring, Inverter Setup, and Power Testing
Once the panels and outlet are positioned, focus on wiring. Connect panels to the inverter using suitable cables, ensuring polarity is correct. Secure connections with reliable connectors to prevent energy loss. Set up the inverter in a well-ventilated area to prevent overheating and ensure efficient operation. Once wiring is completed, conduct a thorough power test. Ensure the system effectively converts and distributes power throughout your home. Use a multimeter to verify voltage levels, ensuring they match the inverter’s specifications. Test the outlet by plugging in a small appliance and observing operation. Look out for any irregularities in performance. Successful power testing confirms your installation is effective, safe, and ready for daily use.
Choosing the Right Solar Panel With Outlet
Key Features to Look for in a Solar Outlet System
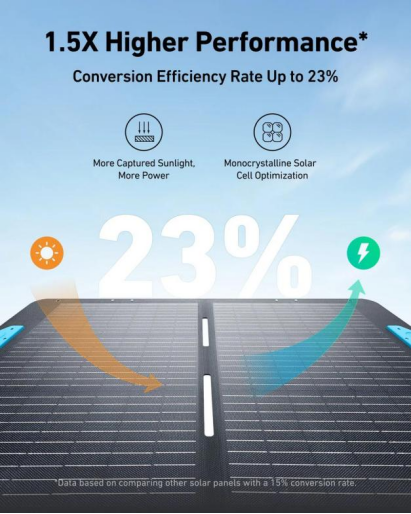
When selecting a solar outlet system, prioritize efficiency and durability. Look for panels with a high energy conversion rate, ensuring maximum power production. Consider the type of inverter and ensure it complements your setup for seamless energy conversion. Opt for systems with built-in safety features like surge protection. Durability is crucial; choose materials resistant to weather elements. Warranty terms often reflect product quality, so opt for long-term guarantees. Check compatibility with current home systems to avoid unnecessary upgrades. Additionally, consider easy-to-use interfaces for monitoring power output. Investing in a system with these features ensures reliability, efficiency, and long-term savings.
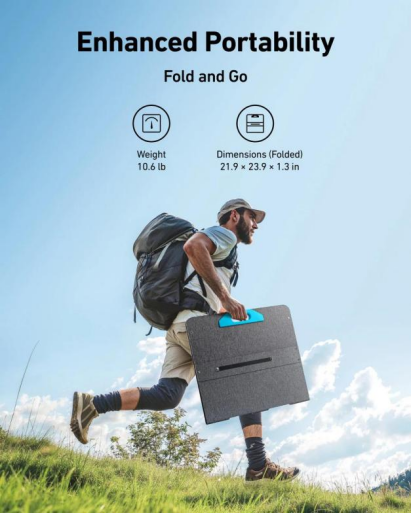
Using Anker SOLIX Solar Panels With Built-In Outlets
Anker SOLIX solar panels are a prime choice for modern solar solutions. These panels offer efficiency and easy integration, making them popular among homeowners. Their built-in outlets simplify the installation process, eliminating the need for separate components. Anker SOLIX panels come with advanced inverter systems, ensuring seamless conversion of solar energy into usable electric power. Their compact design and lightweight materials facilitate easy handling and installation. Protection features like surge prevention and UV resistance enhance durability. These panels support integration with smart home systems, allowing remote monitoring of energy output. With Anker SOLIX, enjoy a balance of performance, convenience, and sustainability in your solar energy setup.
Conclusion
Installing a solar outlet is a manageable task with significant benefits. By following a structured approach, ensure your system is effective and safe. The steps outlined in this guide provide a comprehensive path to harnessing solar energy. Proper preparation sets the groundwork for success, while careful installation ensures longevity and performance. Investing in quality components like the Anker SOLIX panels enhances efficiency. With renewable energy, reduce utility costs and contribute to environmental sustainability. By choosing solar, embrace clean, renewable energy and enjoy the benefits of a self-sustaining power source at home. Take the initiative with this guide, and bring sustainable energy solutions to your doorstep.
Visited 1 times, 1 visit(s) today